WINDOW INSTALLATION + RATTLETRAP REMOVAL
If your van build has been anything like ours then you’ve probably changed your mind on ideas a million times over. Originally we decided not to have windows on our slider doors thinking it would be necessary for keeping warm BUT once we had a kick ass heater installed we realised it would still stay warm enough even with windows. This meant undoing some of our work, removing the insulation and rattletrap - here’s how we did it…
MATERIALS:
4 tubes of sikaflex
Windows www.vanwindowsdirect.com
primer
sharpie marker
blue tape
tea tree oil
TOOLS:
drill
jigsaw
18V caulk gun
3/8 drill bit
hammer
centre punch
grinder
metal file
glass clamps
razor knife
sandpaper
Total cost of window install (not including tools) - $1000
Time - half day of work, overnight to seal
INSTALL:
Peel back the edges of your rattletrap and slice off excess with a razor knife. You don’t have to remove it all just expose the OEM line where you are going to cut. Then use the tea tree oil to remove any of the sticky reside. A little goes a long way and a thick shop towel will get it off super easily.
Use the centre punch to mark out along the OEM line - these punch dots will stop your drill from slipping on the metal surface.
Drill holes along the OEM line using your marks
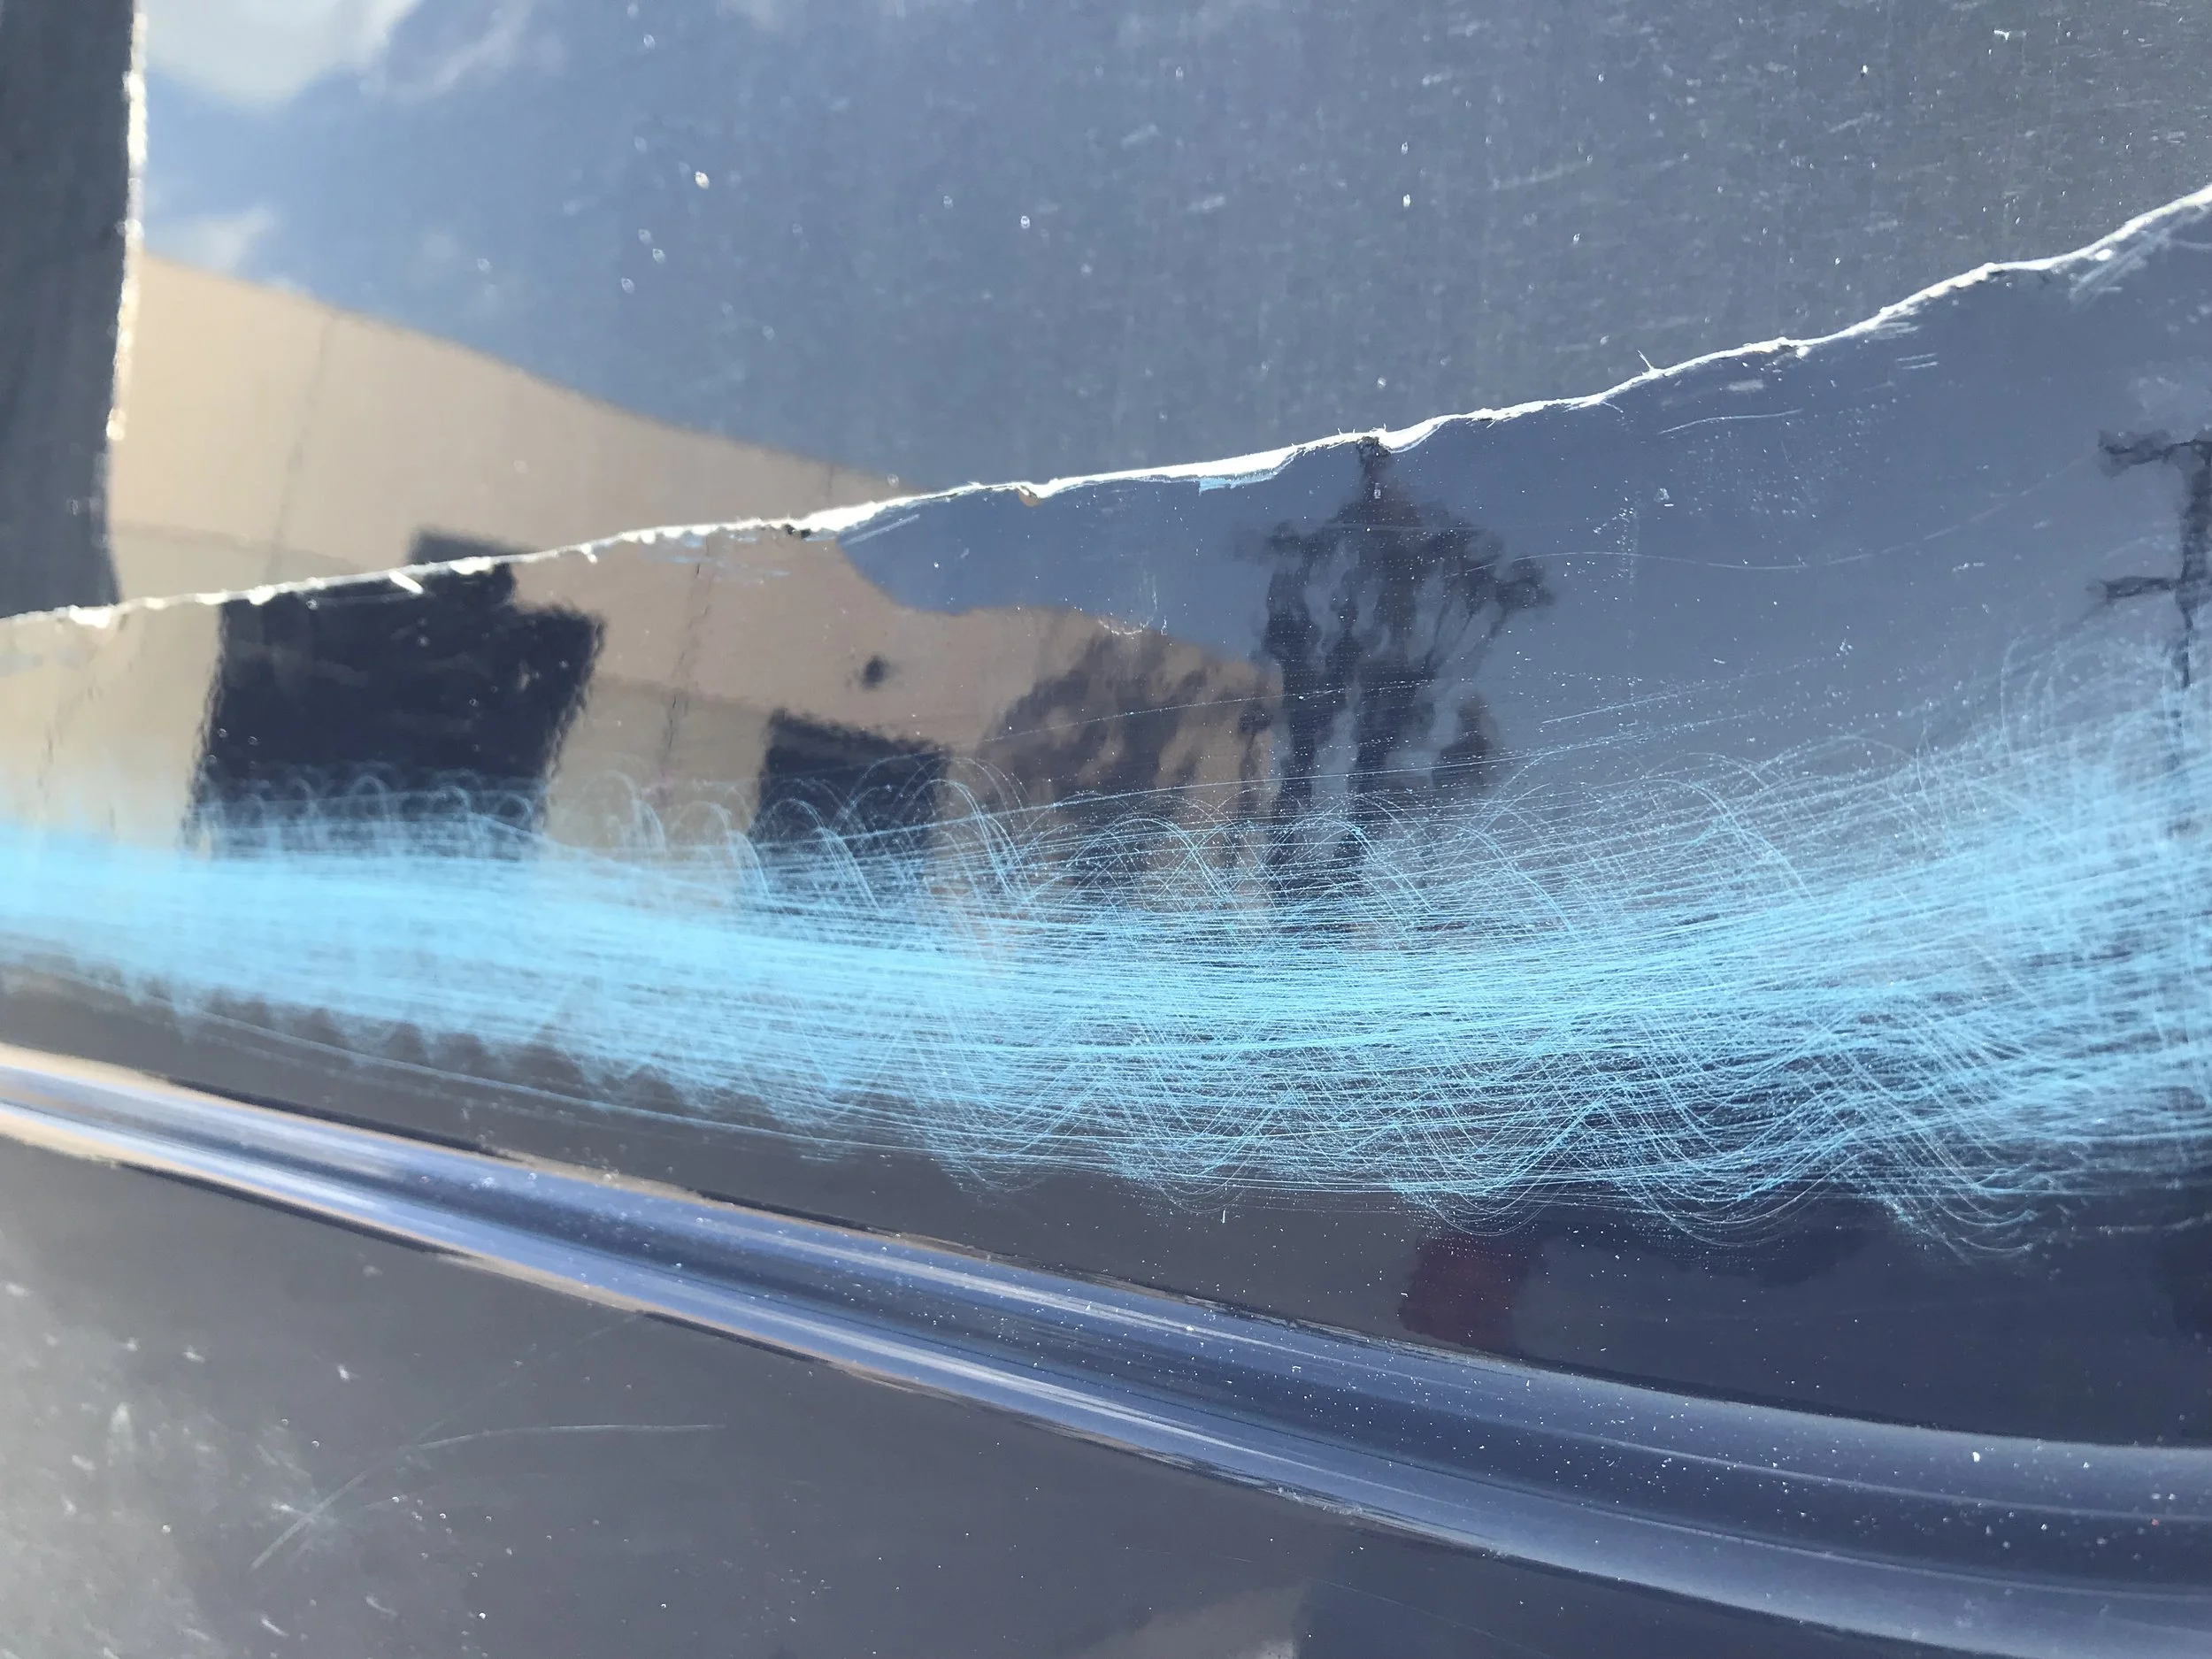
Now use those drill holes as markers on the outside of the door. You can either use the blue tape or just a sharpie, we tried both the sharpie worked fine for us.
Cut a big ole hole in your van!
Use the grinder and the file to get the line as perfect as possible
Scuff up the paint where you will be adding your Sikaflex seal, then make sure the surface is clean.
Primer the edges then wait for it to dry.
Add the finishing edge. If the metal pieces allow then you only need to run it along the inside edge, if yours are close together you can add it across both, this won’t effect your glass going in.
Sikaflex tips: this was our second time round using this stuff and we had much more success this way. Make a notch in the tip as shown, leave your sikaflex in the sun all day while you are working, make an extra big hole in the tube with a knife and most importantly use an electric caulk gun!!
Apply a thick seal of Sikaflex
Press the window into place, we found the glass suction holders were helpful. Then have one person hold while the other tapes.
Add the glass suctions to the inside and use a ratchet strap to keep gently in place. Place it in the centre to make sure your windows seal evenly all the way around.
Leave it overnight and wake up to a new view!


